Tuesday, 5 April 2016

A "Frozen" Winter Birthday Party

Baby It’s Cold Outside! Selena’s 3rd Birthday!

“Let it Go” seems to be the most popular three-letter phrase among kids these days. Since Selena is a big sister, she says she is Elsa and her little sister, Callie, is Anna. It was no surprise when she told me she wanted to have a “Frozen” birthday party, this year.  I had a swim party portion but family came over after to continue the celebration.

So there I was searching Pinterest for Frozen themed things for a child's birthday party everyday for weeks. I pinned a few things, but realistically, I didn’t have the time to do any of those so I decided that I’d just do a few things here and there.

These are the things I came up with:

1) INVITATION:  Blue/Turquoise and Silver Theme


This is the quick how-to:

1   Take a piece of Blue Marina Mist 8.5”x11” cardstock (#119682), and cut it in half on the 8.5” side.
2  Score it at 3.25" and 8.75" marks, and fold.
3  Type the party details on the computer and print it in Black Ink using a laser jet printer on Whisper White cardstock (#100730). Run it through the Heidi Swapp Minc machine together with the reactive foil, giving it that blue foil effect. Cut it at 4 x 5.25” and glue it on the inside.
4  To close the card, create a card band by cutting a 1 inch strip of Bermuda Bay card stock (#131197) and folding it around the card. For added effect, glue a piece of silver ribbon in the centre of the strip.
5   Stamp the largest snowflake from the Flurry of Wishes Stamp Set (#139732) using Versamark (#102283), cover it with silver embossing powder (#12345) and hit it with your heatgun.  Punch it out using a 2-3/8 scallop circle punch (#118874). Add a rhinestone (#119246) in the middle of the snowflake for a little sparkle.
6  Secure the snowflake punch out over the ends of the card band.

2)  DÉCOR

I made four flag banners to put around our house.


I used the letters from the Larger than Life Stamp Set (#135382) to stamp out HAPPY BIRTHDAY, LET IT GO AND FROZEN.

In keeping with the Blue/Turquoise theme, I used blue toned pattern paper to make the flags of the banners. Each flag measured 6x6”. Using left over glittery aqua coloured ribbon left over from Christmas, I added bows here and there.

You can’t forget Elsa and Anna at a “Frozen” birthday party, so there they were standing happily at 7 feet! Bonus: Olaf was there, too!


3) MARQUEE LIGHTS


In true Heidi Swapp style, I picked up these inexpensive wooden marquee lights from Michaels.  I figured I would use these at each of her birthday parties. Seeing her name in lights was truly something!


4) CAKE and other things

I made a three-layer cake (Vanilla, Chocolate and Vanilla) and covered it in Aqua blue ombre rosettes and topped it off with a light up Elsa crown.


I had 33 loot bags to make for both boys and girls of varying ages, so I picked up different things for each child.  I don’t know how I did it, but they all fit in a small white paper bag.  I added light blue tissue paper and glued silver doilies with each of their names on the front.


I also added a few blue Christmas ornaments to tree branches and changed my curtains to sheer turquoise curtains from IKEA to add to the wintery feel.


It was a busy week leading up to the party but enjoyed every minute of party planning!!

To order some custom invitations or banners, email me Francesca@stampcraftlove.com

Enjoy the first days of Spring! Don’t forget to Stamp. Craft. Love.

Fay xo


Wednesday, 23 March 2016

Fay's 1-Minute Card: Just Married / Wedding


1) Take a piece of card stock, or patterned paper and cut it to 4.25" x 11" and fold it in half to make a side folding card.

2) Take the Just Married card from the Love Story Project Life Card Collection by Becky Higgins (#135308) and glue it to the card front. You may need to trim off the access.

3) Then add your embellishments. I chose paper flowers and pearls. I also used the Gold Glitz Dazzling Details (#133755) to accent the wedding dress.

4) Using my date stamp, stamped my cousin's wedding date.

Sale-A-Bration Ends in Just One Week! (MARCH 31)


Monday, 1 February 2016

Tutorial #4: Mommy & Me Valentines - Hello Life Stamp Set


Just in time for Valentine's Day!


My almost 3 year old daughter, Selena, is super eager to craft! I often find her exploring my craft room instead of playing in her play room! Today, I want to share with you this years' Valentines that we made together!


She wanted to give her friends and family a sweet card full of hearts and this is exactly what this is.  I designed this card with a mommy and her toddler in mind. Stamping is so easy that your kids can do it to!  Everything you need to make this can be found on my site: www.stampcraftlove.com

This is how we did it:

1) Using a sheet of Whisper White Thick Cardstock (140272), cut it to 3 3/4" x 5", then cut a layering piece using Basic Black (121045) down to 4" x 5 1/4"and finally, the cut the card base to 4 1/4" x 5 1/2" in Bermuda Bay (131197).

2) Take any one of the hearts from the Hello Life stamp set (137136) and mount it on Acrylic Block D (118485). Then ink it up using Melon Mambo Ink (126948).  I would do a few practice ones with your little one while showing her how it should look like. It did take us a few times....no, quite a few times for her to finally get one completely stamped.


3) When she was ready (really, when I thought she was ready) Selena stamped 5 hearts on the pre-cut Whisper White Thick cardstock.  Any pattern will do, but I chose 3 vertical hearts on the left side and then 2 on the right side. 


4) Using another heart from the Hello Life stamp set (137136), Selena inked it up using Bermuda Bay ink (131171).  She then stamped it on a scrap piece of Whisper White cardstock. 


5) I punched out the stamped heart using the Sweetheart punch (133786), but she insisted on helping me! Typical Selena! :)


6) Then Selena took the punched out heart and dipped the sides of the heart in the Bermuda Bay ink (131171) to create a border.

7) We, then, used the Heart Punch out of the Itty Bitty Accents Punch Pack (133787), to punch three hearts out of a scrap piece of Bermuda Bay cardstock.  (The picture below shows two sets of hearts for the two cards we made)


8) Mommy's turn to stamp!! Then using the "so sweet" stamp from the Hello Life stamp set, (137136) I stamped it close to the bottom but overlapping the third heart on the left.


9)  Assembly time!! We glued the stamped layer, then the middle layer (Basic Black) and the card base (Bermuda Bay) together using Fast Fuse Adhesive (129026).  Selena made sure that they were really glued together!

10) Then I put dabs of Multipurpose Liquid Glue (110755) (this stuff is amazing by the way) on the back of the small hearts and Selena placed them where ever she wanted on the front of the card.

11) Then I helped her wrap Metallic Gold Thread (138401) around her hand 5 times and snipped that piece off the spool. Leaving it wrapped up, I placed it on the card front.  


12) Using Stampin' Dimensionals (104430), I adhered a few of them to the back of the larger punched out Heart and secured it on the card front overlapping the Gold Thread (138401).
.


13) We wanted to add a personal greeting, so we took a piece of Whisper White cardstock (140272) cut to 4 1/4" x 5 1/2" and wrote a little note using markers. Then, we glued it to the back of the card.

There you have it!  Our Mommy and Me Valentines.


We had so much fun doing this together!!! She even asked me if she could do it with her friends! I told her she could!! :)  and your child could too. Ask me how you could host your own kids stamping and crafting workshops - maybe, have it as an activity at their next birthday party!

Be sure to take some time to share what you do with your children, it's a great way to spend more time with them!!!


Have a great week :)  Don't forget to Stamp.Craft. and Love.

Fay xo


Thursday, 28 January 2016

Tutorial #3: DIY Wall Art Using Yarn & Giveaway!!

Wall art can be so expensive! Why not make your own!!  I recently moved into a new house in August 2015 and with the birth of our 2nd daughter, Callie, we are still working on making our new house our home. Our home decor was primarily dark and bold colours like, black or red, but now I am lightening things up with whites, creams, light greys and light pink (and metallic accessories, of course).


Every time I entered my living room, I didn't get the warm and fuzzies like I imagined when moving to a new house.  It was mainly due to the fact that my walls lacked something, but I couldn't quite put my finger on it. I went searching for something soft, feminine and unique for my living room.  Then it hit me, I was at Michaels the other day and my eyes were drawn to this soft, fluffy yarn!! An image of something similar I saw online last year crossed my mind.  I decided to try it out (what I can recall from memory) - I bought yarn in grey, in white and in ombre of pink and cream.


I used a tree branch as my base, cut multiple pieces of yarn measuring approximately 40 inches.  I didn't measure it exactly as I wanted varying lengths.  Using the "cow hitch knot", I tied as many pieces of yarn to the branch that I wanted in a random colour pattern.  Then, I used a piece of white yarn and tied it to either end of the branch to serve as the hanging piece. Oh it was just perfect!!!


This was so quick, inexpensive, and matched my decor.  Bonus: it was handmade by me!

I hope you liked this idea.  Use it for your bedroom or nursery. If you try it, send me a pic I would love to see it :)

GIVEAWAY ALERT:  I made a second one of these and would love to give it away to one of you special people. Enter for your chance to win this Yarn Wall Art. Winner will be announced on the Facebook page and on my blog on Friday, Feb 5, 2016.

Rules to Enter:  You must complete all 3 steps!

1) Leave a comment on this post
2) Subscribe to my blog by entering your email (top right hand corner of my blog page)
3) Like my Stamp Craft Love Facebook Page

If you have already subscribed to my blog and have liked the Facebook page, then all you need do is leave a comment!

Hope you are all having a great day!

Don't forget to Stamp. Craft. and Love.

Fay xo

Monday, 18 January 2016

Tutorial #2: Gold Foil Technique on a Prada Inspired Holiday Card


Who doesn't love gold? If you don't already know this about me, I live and breathe gold.  If I am not spray painting things, I am shopping for gold accessories.  And now, I can easily make gold foiled things! Although this is a Holiday Card inspired by Prada...it's never to late to share my love for gold foil!


For those who love the foil look on their projects, get the Minc Machine. Heidi Swapp knows where its at! Gold foiled projects are currently trending in the crafting world – ranging from greeting cards, scrapbooking, party décor and home décor items such as framed prints. 


Want to know how to get that look without a special printer? I just used my regular Lexmark LASER printer.  Any laser printer will work just fine – anything that uses Toner (that is the important part). I don’t know why I didn’t get the Minc Machine sooner,  I didn’t realize how easy this really is. 

The Heidi Swapp Minc Machine is a foil applicator that has six settings, four rollers and motor directions going forward and reverse.  The Minc Machine can be used with a variety of materials (vellum, overlays, coated paper, chipboard and cardstock)! You can also get the foil effect using an office laminator but you are quite limited in what you can make and it will not produce the quality you were hoping for. I know this from experience! Although the laminator heat was on HIGH, it was not high enough.  5 days before Christmas, I was working on our annual Christmas card that we send out to our friends and family but production was abruptly stopped when my foolproof gold foiling technique didn’t work.

That’s when I did it. I picked up the Minc Machine from Michaels which was the best decision ever. This past holiday was busy for me as I received quite a few orders! But I still managed to gold foil and stamp 60 cards in so little time!

This is how:

1)    On a 8.5 X 11 piece of Whisper White 110 lb. cardstock from Stampin’ Up! (140272), I printed the text “Merry & Bright” twice in Black ink on the page to be able to make two 4.25x5.5 side folding cards.
2)    Using Heidi Swapp’s Minc Reactive Foil in Gold, I cut pieces that covered the entire text area and placed it on top of the text, gold side up in the transfer folder provided. See picture.

3)    I ran it through on the 5th heat setting once.
4)    Lifted off the reactive foil – and Voila!


My 2015 Annual Christmas card was inspired by colours from Prada’s fashion line for Fall/Winter 2015/2016.  


I, then, added polka dots on each of the card fronts using round sponge daubers (133773) in three Stampin’ Up ink colours: (Pool Party 126982, Wild Wasabi 126959, Calypso Coral 126983) and ENCORE ink in Gold.

For added sparkle, I dabbed a few small dots of Studio G glitter glue in light blue.


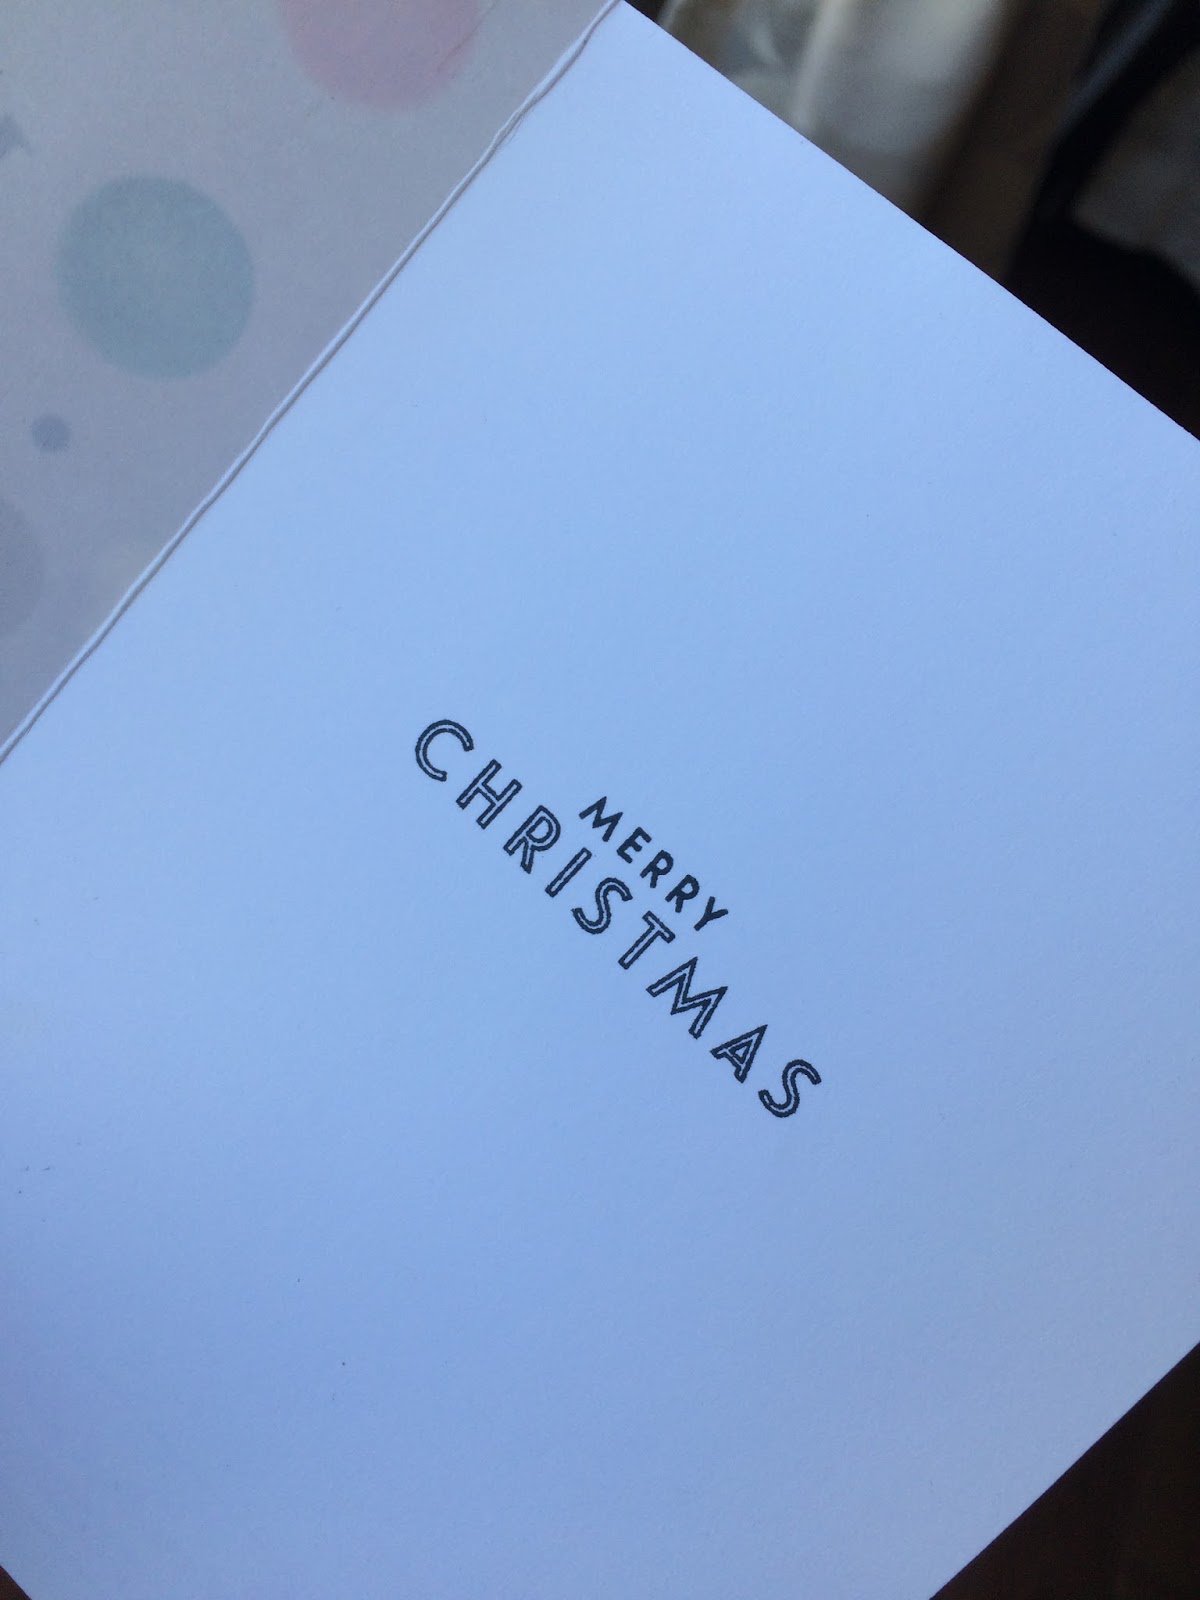
And for the greeting on the inside of the card, I used the Merry Christmas greeting from the Flurry of Wishes stamp set (139732) in Archival Black Ink (140931).


I was super excited that I was able to get some stamping done and also try out the gold foil technique! Use this technique for other occasion greeting cards or wall art pieces!

What would you try this technique on?  Comment below!

Don’t forget to Stamp. Craft. And Love.


Saturday, 16 January 2016

Sale-A-Bration: Our biggest sale of the year!


Sale-A-Bration:  January 5 – March 31, 2016

What is Sale-A-Bration? It is Stampin’ Up’s biggest annual sale of the year.


It’s everyone’s most favourite Stamping  Up sale!  With specials for customers, hostesses, new demonstrators  – there’s something amazing for everyone

**************************************************************************************************

What's all the hype about? 

SHOP

During Sale-A-Bration, every $60 you spend, gets you a FREE exclusive Sale-A-Bration item! These free items are selected from the exclusive Sale-A-Bration catalog.

Get any Sale-A-Bration item for FREE when you spend $60 (before shipping and tax)
Get 2 Sale-A-Bration items for FREE when you spend $120 (before shipping and tax)
Get 3 Sale-A-Bration items for FREE when you spend $180 (before shipping and tax)
Once your order reaches $200 (before shipping and tax),  you get a BONUS $2o in hostess rewards!!
And, there is no limit to the number of  Sale-A-Bration Rewards you can earn.
HOST

Host a Stamp.Craft.Love. Workshop and Earn Free Products!! 

Sale-A-Bration is the most popular time of the year to host a workshop with your friends!  Not only do you and your guests receive free Sale-a-Bration product with orders of $60 or more, but… as the hostess you have the opportunity to receive additional FREE product of your choice!

What do HOSTESSES get?  They get $35 more in Stampin’ Up! product with a $330 party…choose product from the Annual and Occasions catalogs, including exclusive hostess selections! You can even apply your Stampin' Rewards toward a Starter Kit and become a demonstrator yourself!


JOIN

Sale-A-Bration is a great time to join the Stampin’ Up! Family and become one of Fay's Social Stampers! If you love stamping and crafting, this is perfect for you. As a Stamping' Up Demonstrator, you receive 20% off Stamping' Up product all the time! 

What do “NEW” DEMONSTRATORS get? 

$40 worth of extra Stampin’ Up! product when you purchase a Starter Kit for $125. You get to choose what products you want to have in you Starter Kit and what type of business supplies you want. Shipping is Free for New Demonstrators.


For more information about joining Stampin’ Up! and my team, contact me at francesca@stampcraftlove.com