Just in time for Valentine's Day!
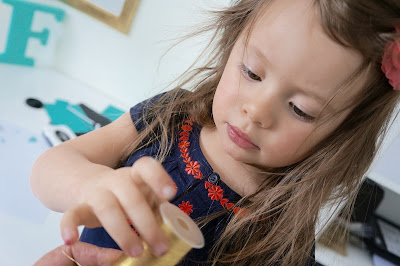
My almost 3 year old daughter, Selena, is super eager to craft! I often find her exploring my craft room instead of playing in her play room! Today, I want to share with you this years' Valentines that we made together!
She wanted to give her friends and family a sweet card full of hearts and this is exactly what this is. I designed this card with a mommy and her toddler in mind. Stamping is so easy that your kids can do it to! Everything you need to make this can be found on my site: www.stampcraftlove.com
This is how we did it:
1) Using a sheet of Whisper White Thick Cardstock (140272), cut it to 3 3/4" x 5", then cut a layering piece using Basic Black (121045) down to 4" x 5 1/4"and finally, the cut the card base to 4 1/4" x 5 1/2" in Bermuda Bay (131197).
2) Take any one of the hearts from the Hello Life stamp set (137136) and mount it on Acrylic Block D (118485). Then ink it up using Melon Mambo Ink (126948). I would do a few practice ones with your little one while showing her how it should look like. It did take us a few times....no, quite a few times for her to finally get one completely stamped.
3) When she was ready (really, when I thought she was ready) Selena stamped 5 hearts on the pre-cut Whisper White Thick cardstock. Any pattern will do, but I chose 3 vertical hearts on the left side and then 2 on the right side.
4) Using another heart from the Hello Life stamp set (137136), Selena inked it up using Bermuda Bay ink (131171). She then stamped it on a scrap piece of Whisper White cardstock.
5) I punched out the stamped heart using the Sweetheart punch (133786), but she insisted on helping me! Typical Selena! :)
6) Then Selena took the punched out heart and dipped the sides of the heart in the Bermuda Bay ink (131171) to create a border.
7) We, then, used the Heart Punch out of the Itty Bitty Accents Punch Pack (133787), to punch three hearts out of a scrap piece of Bermuda Bay cardstock. (The picture below shows two sets of hearts for the two cards we made)
8) Mommy's turn to stamp!! Then using the "so sweet" stamp from the Hello Life stamp set, (137136) I stamped it close to the bottom but overlapping the third heart on the left.
9) Assembly time!! We glued the stamped layer, then the middle layer (Basic Black) and the card base (Bermuda Bay) together using Fast Fuse Adhesive (129026). Selena made sure that they were really glued together!
10) Then I put dabs of Multipurpose Liquid Glue (110755) (this stuff is amazing by the way) on the back of the small hearts and Selena placed them where ever she wanted on the front of the card.
11) Then I helped her wrap Metallic Gold Thread (138401) around her hand 5 times and snipped that piece off the spool. Leaving it wrapped up, I placed it on the card front.
12) Using Stampin' Dimensionals (104430), I adhered a few of them to the back of the larger punched out Heart and secured it on the card front overlapping the Gold Thread (138401).
.
13) We wanted to add a personal greeting, so we took a piece of Whisper White cardstock (140272) cut to 4 1/4" x 5 1/2" and wrote a little note using markers. Then, we glued it to the back of the card.
There you have it! Our Mommy and Me Valentines.
We had so much fun doing this together!!! She even asked me if she could do it with her friends! I told her she could!! :) and your child could too. Ask me how you could host your own kids stamping and crafting workshops - maybe, have it as an activity at their next birthday party!
Be sure to take some time to share what you do with your children, it's a great way to spend more time with them!!!
Have a great week :) Don't forget to Stamp.Craft. and Love.
Fay xo


No comments:
Post a Comment