Who doesn't love gold? If you don't already know this about me, I live and breathe gold. If I am not spray painting things, I am shopping for gold accessories. And now, I can easily make gold foiled things! Although this is a Holiday Card inspired by Prada...it's never to late to share my love for gold foil!

For those who love the foil look on their projects, get the Minc Machine. Heidi Swapp knows where its at! Gold foiled projects are currently trending in the crafting world – ranging from greeting cards, scrapbooking, party décor and home décor items such as framed prints.

Want to know how to get that look without a special printer?
I just used my regular Lexmark LASER printer.
Any laser printer will work just fine – anything that uses Toner (that
is the important part). I don’t know why I didn’t get the Minc Machine sooner, I didn’t realize how easy this really is.
The Heidi Swapp Minc Machine is a foil applicator that has
six settings, four rollers and motor directions going forward and reverse. The Minc Machine can be used with a variety
of materials (vellum, overlays, coated paper, chipboard and cardstock)! You can
also get the foil effect using an office laminator but you are quite limited in
what you can make and it will not produce the quality you were hoping for. I
know this from experience! Although the laminator heat was on HIGH, it was not high enough. 5 days before Christmas, I
was working on our annual Christmas card that we send out to our friends and
family but production was abruptly stopped when my foolproof gold foiling technique didn’t
work.
That’s when I did it. I picked up the Minc Machine from
Michaels which was the best decision ever. This past holiday was busy for me as I
received quite a few orders! But I still managed to gold foil and stamp 60 cards in so little time!
This
is how:
1)
On a 8.5 X 11 piece of Whisper White 110 lb. cardstock from
Stampin’ Up! (140272), I printed the text “Merry & Bright” twice in Black
ink on the page to be able to make two 4.25x5.5 side folding cards.
2)
Using Heidi Swapp’s Minc Reactive Foil in Gold, I cut pieces
that covered the entire text area and placed it on top of the text, gold side
up in the transfer folder provided. See picture.


3)
I ran it through on the 5th heat setting once.
4)
Lifted off the reactive foil – and Voila!

My
2015 Annual Christmas card was inspired by colours from Prada’s fashion line
for Fall/Winter 2015/2016.

I, then, added polka dots on each of the card fronts using round sponge daubers (133773) in three Stampin’ Up ink colours: (Pool Party 126982, Wild Wasabi 126959, Calypso
Coral 126983) and ENCORE ink in Gold.
For
added sparkle, I dabbed a few small dots of Studio G glitter glue in light blue.

And
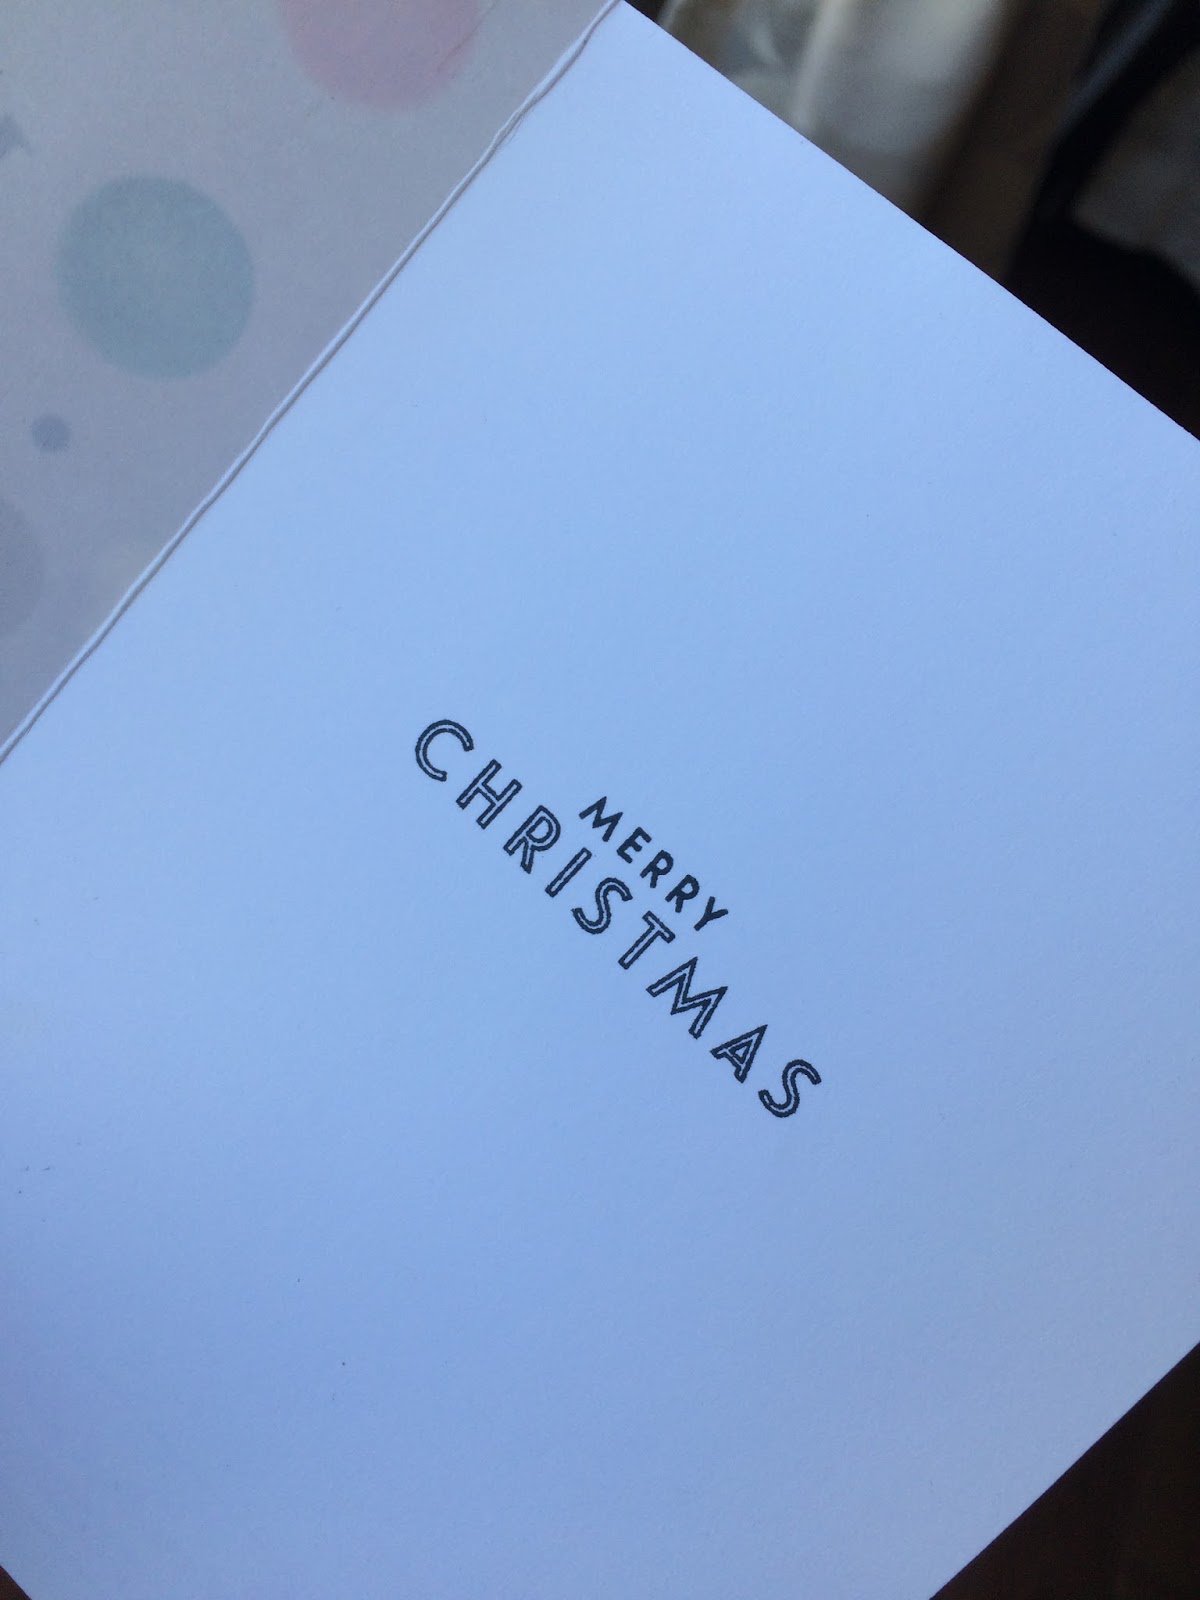
for the greeting on the inside of the card, I used the Merry Christmas greeting
from the Flurry of Wishes stamp set (139732) in Archival Black Ink (140931).
I
was super excited that I was able to get some stamping done and also try out
the gold foil technique! Use this technique for other occasion greeting cards
or wall art pieces!
What
would you try this technique on? Comment
below!
Don’t
forget to Stamp. Craft. And Love.
No comments:
Post a Comment